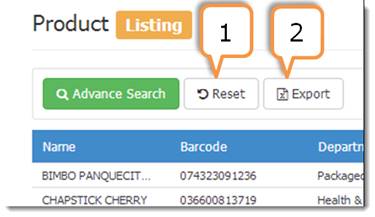
1. Reset: Resets the screen back to entire list and removes search or selection criteria.
2. Export: Allows user to export the data to Excel or CSV. Choose format and group by method. Then click OK. An export window (pictured below) will appear.
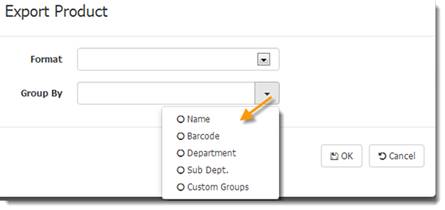
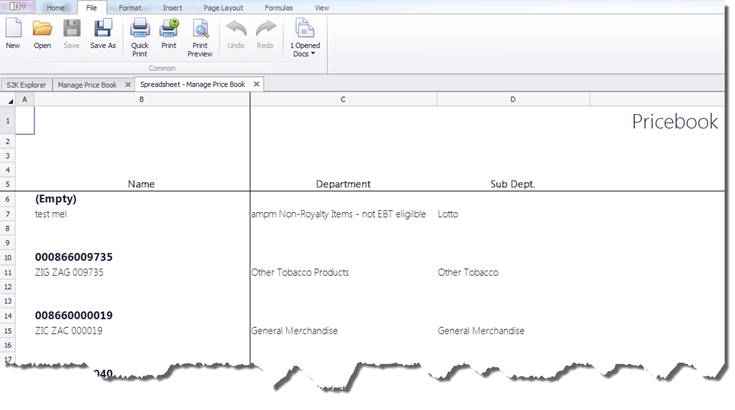
Then a tab will appear (pictured below) with the data for you to Save As, or Print as needed.

3. Select all: Allows users to highlight all the items displayed on the page.
4. Import Cost: Beginning cost can be imported for items with a .csv file using the following format:
Upc,cost
898900000717,1.19
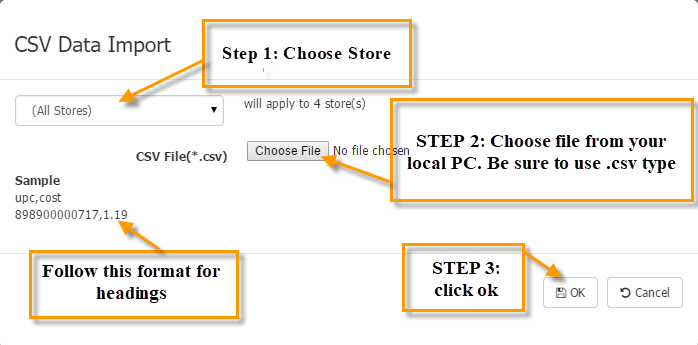
5. Import: Allows user to import a CSV file in order to import items for the user’s Pricebook. Click Import and a window will appear (pictured below).
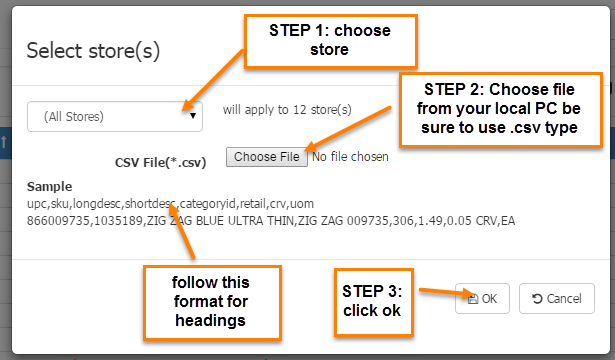
Be sure to use the proper format and headings as shown above. NOTE: Any items that already exist in your pricebook will be overwritten with any new attributes if not an HQ (core) item. If you make a mistake in the file data you import, it cannot be reversed, and so great care must be taken to check your information is accurate.
This import tool can be used for importing new items, changing mass retail using a file, updating other attributes as needed. Just be sure to at least include the UPC and then only the attributes you wish to edit. Skip those you wish not to use or change. You CANNOT import items into locked (non royalty) departments, they will be skipped and the success message will note how many items were not able to be imported.
NOTE: Import Packsize Pricing- use the following format to import packsize pricing
upc,sku,longdesc,shortdesc,categoryid,retail,2,3,crv1,crv2,crv3
Items 2,3 above indicate packsize. crv1, crv2 and crv3 indicate the fee for the packsize.
6. Export: Creates an export of the pricebook including retail. Window appears asking for which station you want the file for. Format is CSV.
7. Barcode: Allows you to print shelf tags for the items selected. See Barcode Printing for more details.
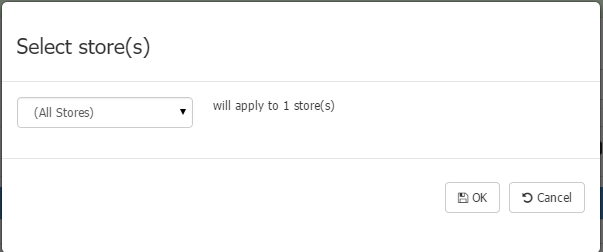
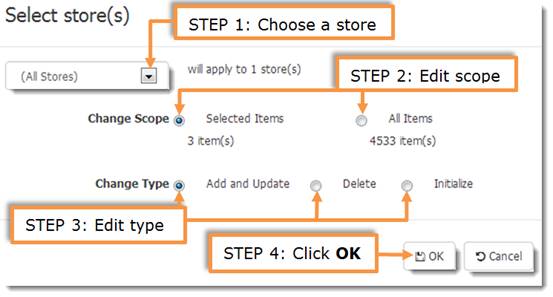
8. Publish: Use the CONTROL key to select specific items or use the Select All button to highlight the items you want to send to the POS. If nothing is selected then ALL items will be send to the POS as if you used the Select All button. Then click the Publish button. A window will appear, edit the criteria (pictured below).
User can view results in Publish History.
9. Batch Edit: Use the Batch Edit button to move multiple items to new Departments, Groups, bottle deposits, etc...
Before clicking the Batch Edit button, hold down the control key and select the items you want to change.
If no items are selected then the edits will apply to ALL items in the list.
With the items highlighted, click Batch Edit.
A product edit window will appear (pictured below).
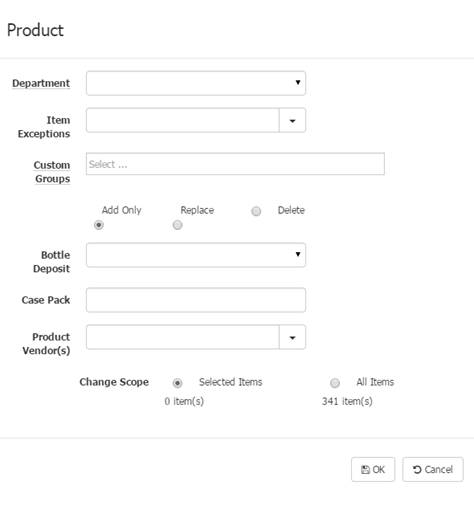
Apply the changes in the window then click OK.
NOTE:
“Add Only” will add the new flag or setting to the items selected.
“Replace” option will remove current flag for that section and replace with the new ones chosen.
“Delete” will remove the setting chosen from the selected items.
10. Reload: Clicking the Reload button will refresh the screen.
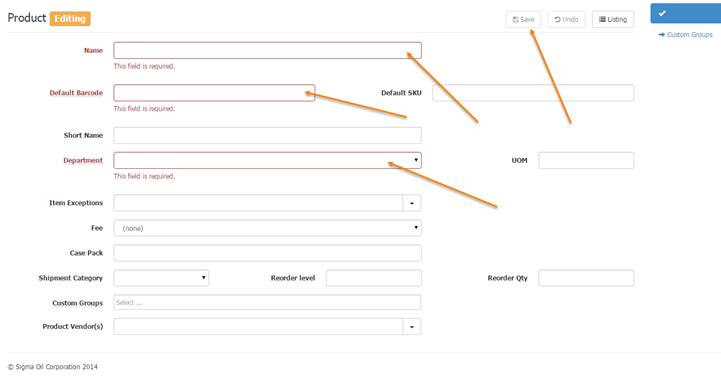
11. +New: The +New button allows users to create a new FLEX item for the Pricebook.
Upon clicking the +New button a Product Editing window will appear (pictured below). Be sure to fill out all information. Required items are highlighted in RED. NOTE: You cannot add flex items to non-royalty bearing departments or non-Flex departments. Click SAVE when done. See Error! Not a valid bookmark self-reference. for more details.
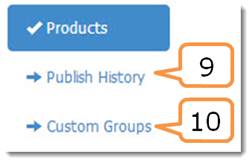
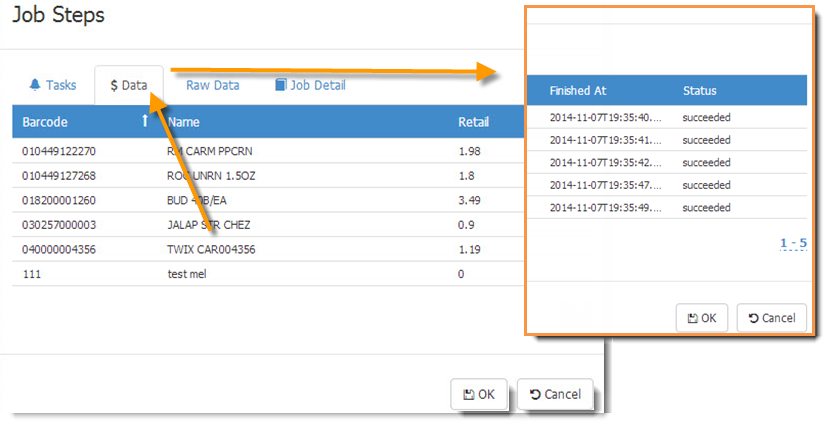
12. Publish History: This shows the history of items published and their status.
Upon clicking the Publish History button you will be directed to the Pricebook Publish History tab.
You will then need to click the Refresh History button at the top of the screen to import the data for this page (pictured below).
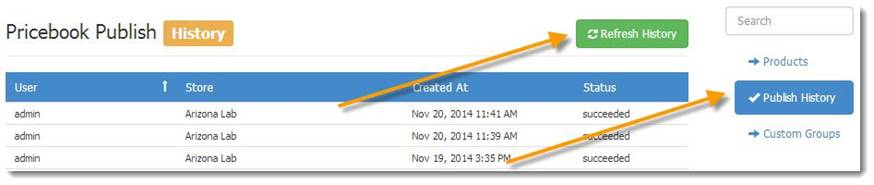
You can click on the item to see details for that particular item in a new window.
Click on the $Data tab to see the items (pictured below).
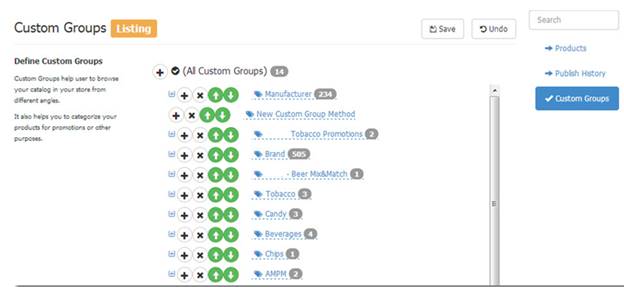
13. Custom Groups: Allows users to create new groups for sorting the products.
Use the + sign button to add another item under the original item.
The X button deletes the item. The arrows move the item up and down in the list order.
The small {+} (to the far left of each group) expands the list to show all the items in that group (it would display the number of items listed to the far right of each group).
Save the changes with the save button, and UNDO reverses the changes made since the last Save.
Search allows users to search for names when they have a lot of groups.
Products- takes users back to the main list.